Loader
How to Remove Loader from Application?
Go to loading.tsx file and comment or remove Loader section
Remove design of loader from src >> app >> [lng] >> loading.tsx between comment of Loader starts to Loader ends
<!-- Loader starts -->
<div className="loader-wrapper">
  <div className="main-loader">
      <div className="bar-0"></div>
      <div className="bar-1"></div>
      <div className="bar-2"></div>
      <div className="bar-3"></div>
      <div className="bar-4"></div>
  </div>
  <div className="loading">Loading...</div>
</div>
Routing
Your complete route structure is place at app folder
Suppose you are creating a new component (For creating a new component refer create new component ) then you have to add new routes for that components.
/* Dashboards */
import Default from './components/dashboard/default'
import Ecommerce from './components/dashboard/ecommerce'
Use that component name with path in routes array in index.tsx
import Link from 'next-navigation'
<Link href={`/dashboard/default`}> Default </Link>
<Link href={`/dashboard/ecommerce`}>Ecommerce </Link>
Customize or Replace Menu Sidebar
Suppose you want to change in your menu sidebar or want to add new menu in your menu section then you just need to open src >> Data >> SidebarData.tsx
{
menutitle: "DashBoards",
items: [
{
title: "Dashboards",
icon: Variables :
- Path : Here you have to give path name same as you have given in index.jsx
- title : Title is the name that you can see on frontside so here you can give attractive title to showcase your menu item
- type : It denote how you want to open your particular routes means on same page, or on new page on live application. Means suppose you want to open "ecommerce" dashboard on new page then write "extTabLink" in type attribute. Here we have four type attribute:
- link : It simply link with particular routes without loading your page.
- sub : It stop to route your page to next. In most case it use when our menu have children item.
- badge : It put the badge on respective component according to value
- pathSlice : It is used for making active current tab after clicking.
Add Components
React provide two types Components :-
- - Class Components
- - Functional Components (Hooks)
Class Components
Suppose if you want to create a new class component then you just need to create a folder in src >> pages and then create a react file with .jsx extension and then paste code as per your needs.
import React, { Component } from 'react';

class Demo extends Component {
    render() {
        return (
            <div>
                //write Html code or structure
            </div>
        );
    }
}

export default Demo;
Functional Component : (Hooks)
Suppose if you want to create a new functional component then you just need to create a folder in src >> pages and then create a react file with .jsx extension and then paste code as per your needs.
import React from 'react';
const Demo = () => {
  return (
      <div>
        //write Html code or structure
      ></div>
    );
  };

export default Demo;
Use of Widgets
Suppose you want to use widget then you need to integrate a particular widget in your existing file. Suppose you want to use calneder components in your dashboard then you need to import that widget in your dashboard
import React, { Component } from 'react';
import Datepicker from './datepicker';  //import external dependacy

class Demo extends Component {
    render() {
        return (
            <Datepicker>
                //declare like this here
            </Datepicker>
        );
    }
}

export default Demo;
Style customization
Suppose you want to customize color and font as per your project then you can change it by:
Theme Color
-
Now we are come with unlimited color option so suppose you want to customize your theme primary and secondary color then just select color from customizer see in right side select color as per your choice and then click on apply button, it will refresh your page and now you will get color as per your choice, now if you want to add this color parmenently in your project
- just copy configuration from top button and paste that in /src/data/customizer/config.jsx
- just copy your color code from above config and update in /src/assets/scss/style.scss
Variable customization of complete theme
Suppose you want to change color and size of card-body, Alert, Badge, Form input, breadcrumb,buttons, footer, sidebar and many more then you just need to change that particular color from _variable.scss in assets >> scss >> theme >> _variable.scss
Google Font
You can change font of your theme from index.html in public folder
<link href="https://fonts.googleapis.com/css?family=Rubik:400,400i,500,500i,700,700i&display=swap" rel="stylesheet">
<link href="https://fonts.googleapis.com/css?family=Roboto:300,300i,400,400i,500,500i,700,700i,900&display=swap">
Theme Customize
Layouts
We have provided a bunch of page layouts and menu layouts that can be implemented with just a options change to body!
For creating your dream layout open customizer by click on setting icon
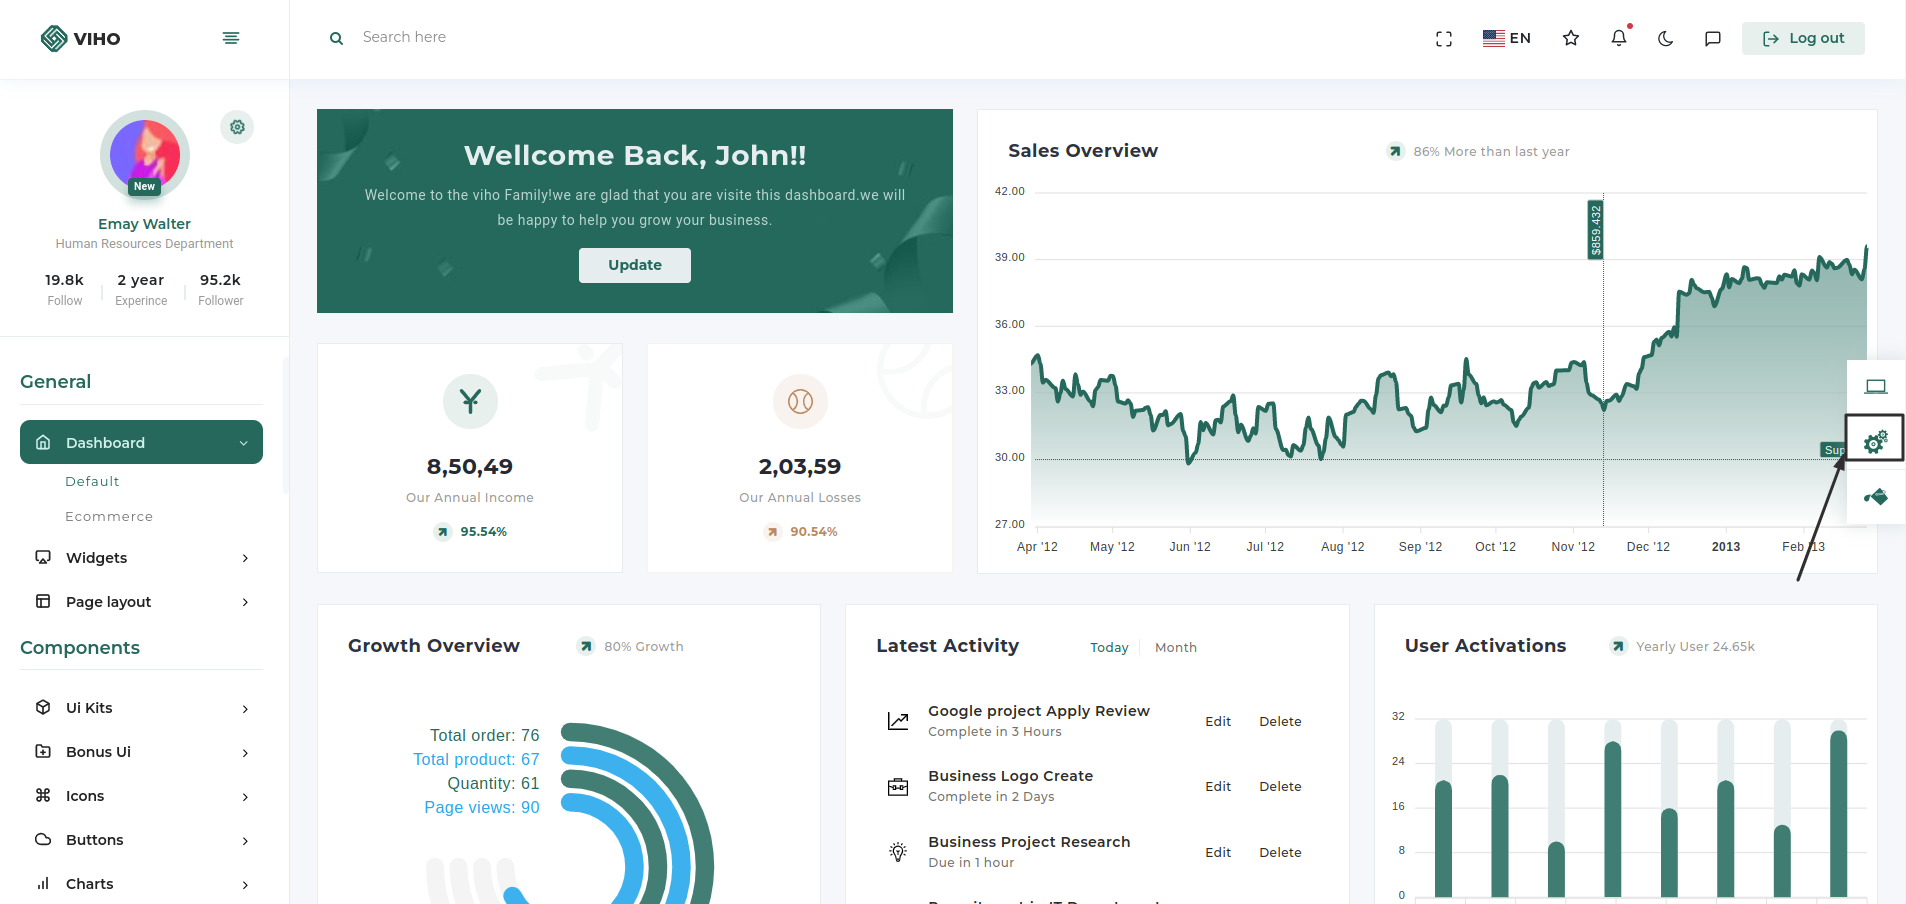
You can change your theme by clicking particular setting

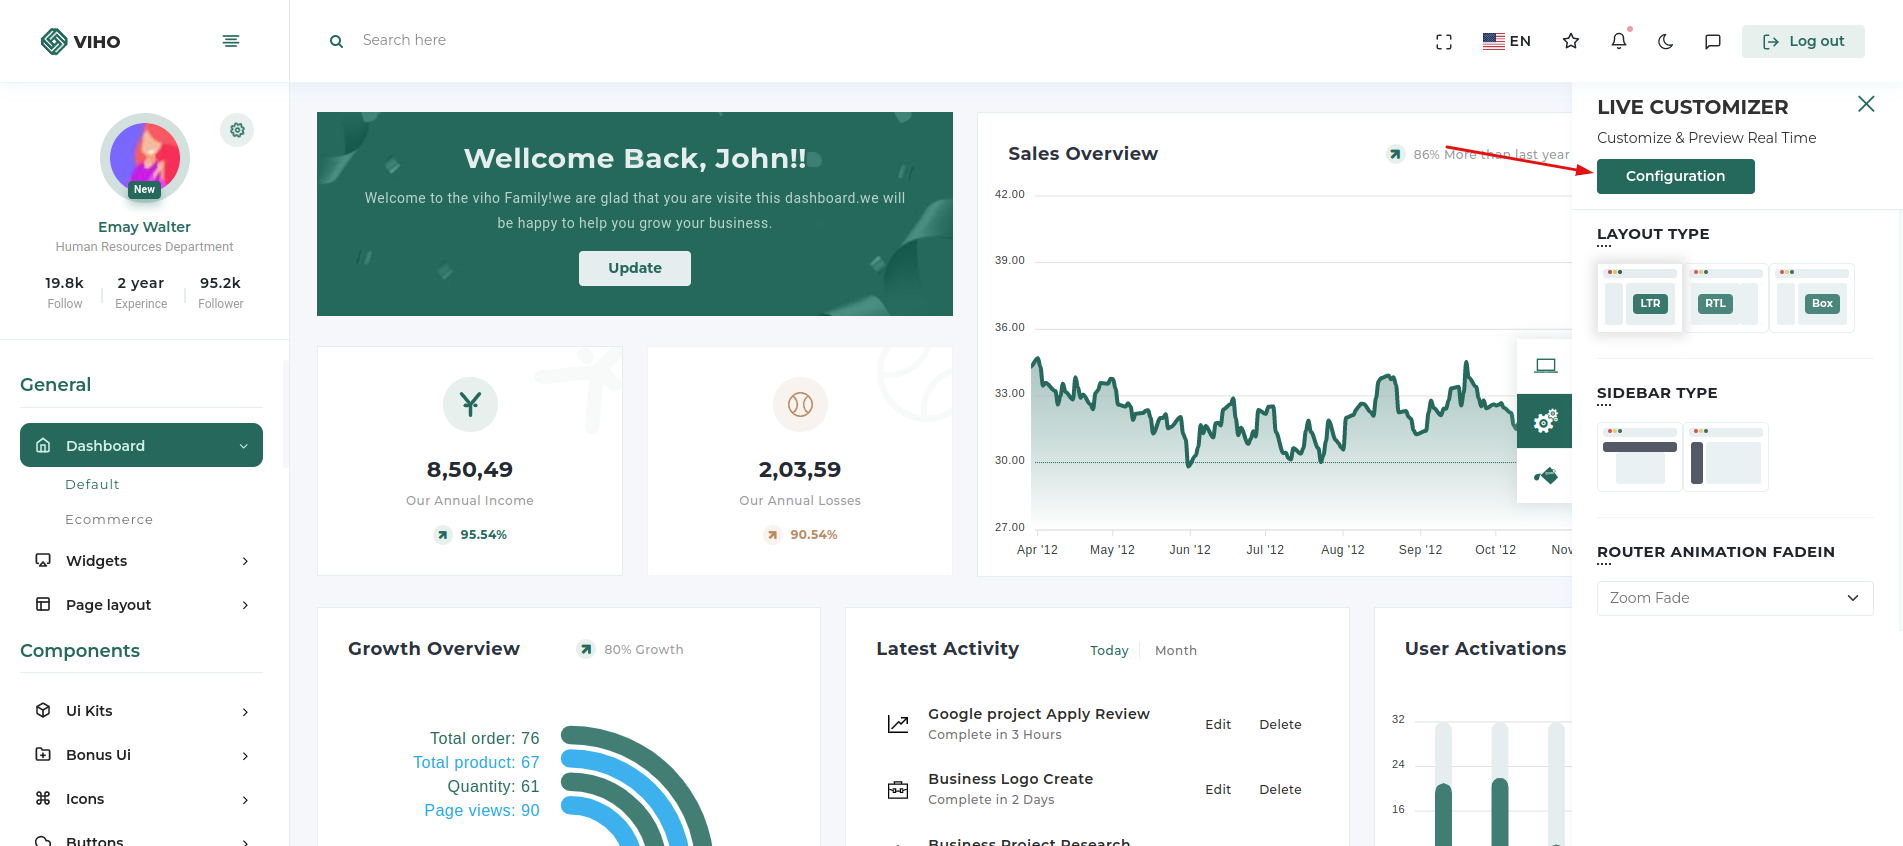
For converting your theme with new amazing layout just click on icon showing in below image and select layout as per your choice

Then you just need to click on configuration button
Configuration popup will be open then just click on copy json button which will copy configuration of theme which you want
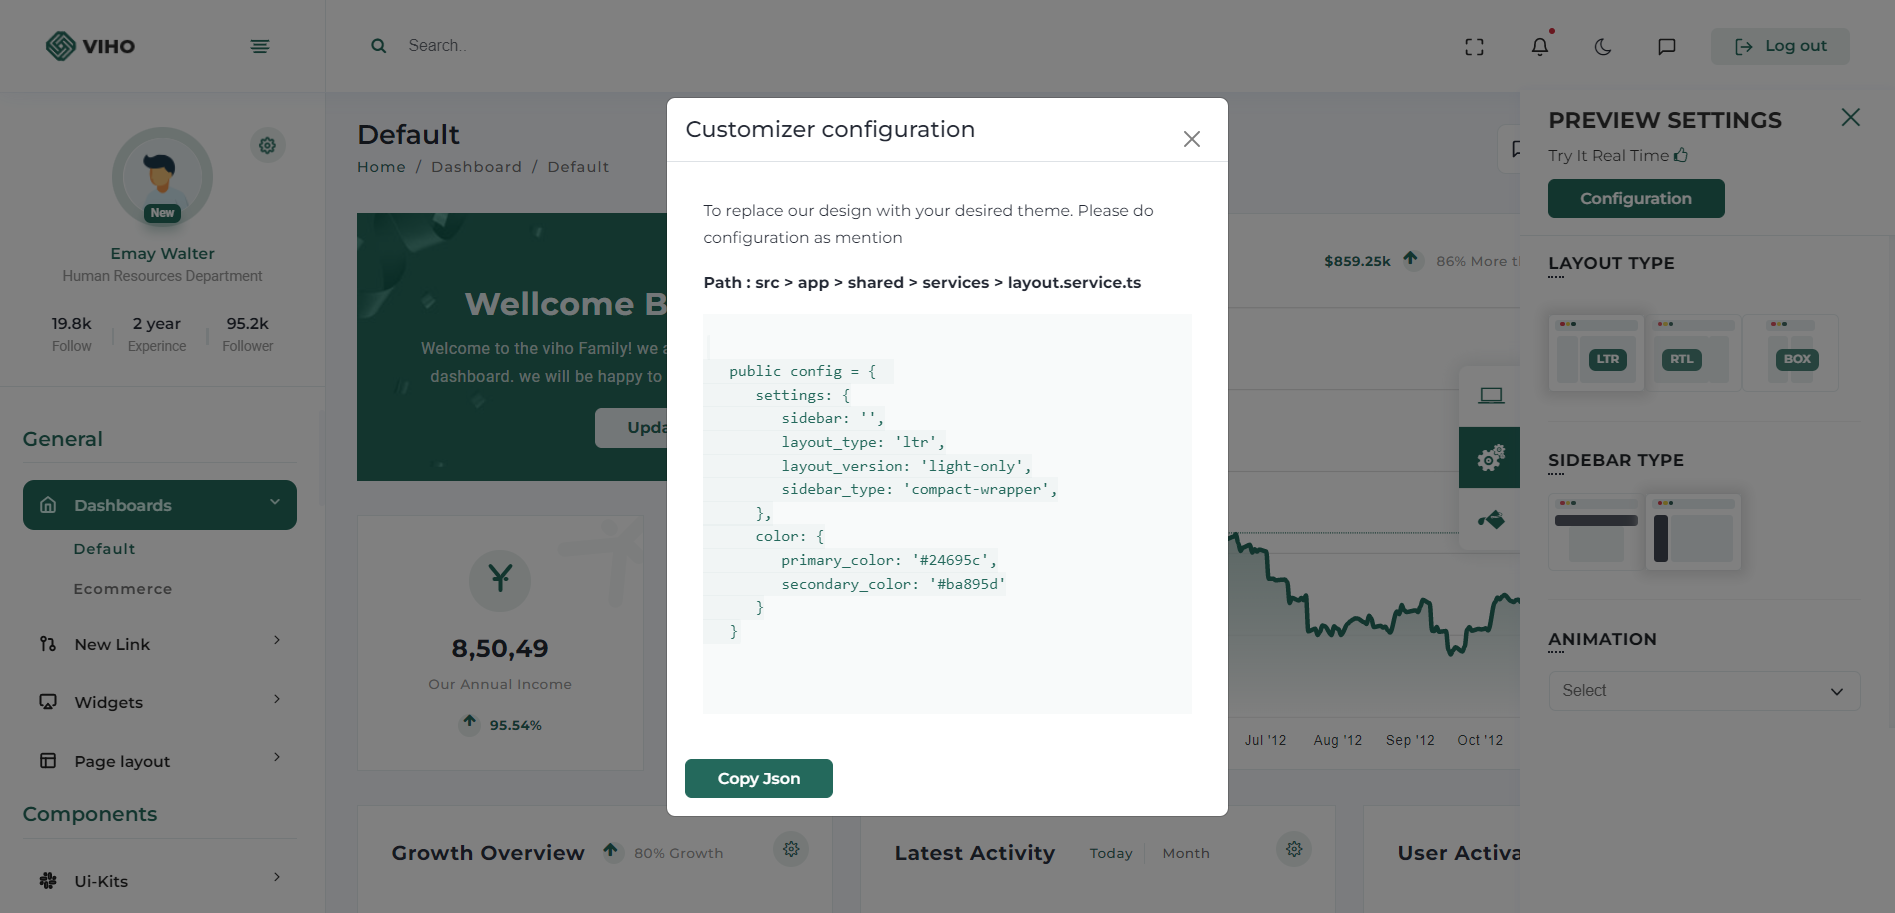
Now go to our theme >> src >> data >> customizer >> config.jsx and then just replace completeconfig.jsx with your new configuration and re-run theme using npm start.
{
  "settings": {
    "layout_type": "ltr",
    "sidebar": {
    "type": "compact-wrapper"
    },
    "sidebar_setting": "default-sidebar",
  },
  "color": {
      "primary_color": "#7366ff",
      "secondary_color": "#f73164",
      "mix_background_layout": "light-only",
    },
  }
}
As we have given amazing layouts by adding them in URL so you just need to add your choice name layout in URL and you have that with you
Please refer the below table for corresponding classes. it is just for your inforamation you do not need to bother about this it's dynamically take particular classes according to your needs.
| Layout | Options |
|---|---|
| Boxed Layout | Class: box-layout |
| RTL Layout | Class: rtl |
| Light Layout | Class: light-only |
| Dark Sidebar | Class: dark-sidebar |
| Dark Layout | Class: dark-only |
Theme options
We have some inbuilt themes for sidebar that can be switched with just a class change
| Sidebar | Options |
|---|---|
| Horizontal Sidebar type | Class: "page-wrapper horizontal-wrapper" and "page-body-wrapper horizontal-menu" |
| Bordered Navigation | Attribute: sidebar-layout="border-sidebar" |
| Sidebar icons color | Attribute: sidebar-layout="iconcolor-sidebar" |
RTL
Suppose you want to add RTL in your application then you just need to set "layout_type" as RTL so application will be converted in RTL layout.
{
  "settings": {
    "layout_type": "rtl",
    "sidebar": {
      "type": "compact-wrapper",
      "body_type": "sidebar-icon"
      },
      "sidebar_setting": "default-sidebar",
  },
    "color": {
        "primary_color": "#7366ff",
        "secondary_color": "#f73164",
        "mix_background_layout": "light-only",
      },
  }
}