Loader
How to Remove Loader from Application?
Go to default.vue file and comment or remove Loader section
Remove design of loader from layouts >> default.vue between comment of Loader starts to Loader ends
<!-- Loader starts -->
<div class="loader-wrapper" v-if='showLoader'>
 <div class="theme-loader">
   <div class="loader-p"></div>
    </div>
  </div>
onMount(()=>{
    setTimeout(()=>{
        ispreloader = true;
    },1000)
})
Routing
One core feature of Svelte is the file system router. Every Svelte file inside the pages/ directory creates a corresponding URL (or route) that displays the contents of the file. By using dynamic imports for each page, Svelte leverages code-splitting to ship the minimum amount of JavaScript for the requested route.
Pages
Svelte routing is based on Svelte-router and generates the routes from every component created in the pages/ directory, based on their filename.
This file system routing uses naming conventions to create dynamic and nested routes:
 <script>
    import { Router } from 'svelte-navigator';
    import Layout from './Layout/Layout.svelte';
    import LayoutRouter from './Routes/LayoutRouter.svelte';
    import { isDarkMode, userName } from './store';
    import AuthRouter from './Routes/AuthRouter.svelte';
    import AuthRoutes from './Routes/AuthRoutes';
    var isAuthRoute = false;
    let darkMode;
    let username;

    isDarkMode.subscribe((value) => {
        darkMode = value;
    });
    $: darkMode ? document.body.classList.add("dark-only") : document.body.classList.remove("dark-only");

    $: AuthRoutes.map((item) => {
        if (item.path === window.location.pathname) {
            isAuthRoute = true;
            return false;
        }
        });

    userName.subscribe((value) => {
        username = value;
    });
</script>


<Router>
    <main>
        {#if username !== null && !isAuthRoute}
            <Layout>
                <LayoutRouter />
            </Layout>
            {:else}
            <AuthRouter />
        {/if}
    </main>
</Router>
<style lang="scss" global>
    @import './global.scss';
</style>
Customize or Replace Menu Sidebar
There are Numerous links in sidebar and if we write whole code in html then number of lines will increase a lot. So to prevent that we have created a JSON file for the sidebar links so that we can loop through the array links and render our links accordingly.
You can find menu.json on the following path: theme>data>menu.json
 {
title: "General",
menu: [
    {
    title: "Dashboard",
    icon: "home",
    type:"sub",
    menu: [
        { path: "/dashboard/default", title: "Default", type: "link"},
        { path: "/dashboard/ecommerce", title:"Ecommerce", type: "link"}
    ]
    },
    {
    title: "Widgets",
    icon: "airplay",
    type:"sub",
    menu: [
        { path: "/widgets/general", title: "General", type: "link"},
        { path: "/widgets/chart", title: "Chart", type: "link"}
    ]
    },
    {
    title: "PageLayout",
    icon: "layout",
    type:"sub",
    menu: [
        { path: "/pagelayout/footerlight", title: "FooterLight", type: "link"},
        { path: "/pagelayout/footerdark", title: "FooterDark", type: "link" },
        { path: "/pagelayout/footerfixed", title: "FooterFixed", type: "link"}
    ]
    }
]
},
Variables :
- Path : Here you have to give path name same as you have given in pages folder
- title : Title is the name that you can see on frontside so here you can give attractive title to showcase your menu item
- type : It denote how you want to open your particular routes means on same page, or on new page on live application. Means suppose you want to open "ecommerce" dashboard on new page then write "extTabLink" in type attribute. Here we have four type attribute:
- link : It simply link with particular routes without loading your page.
- menu : It stop to route your page to next. In most case it use when our menu have children item.
- extLink : It change route with reloading a page (Work like href)
- extTabLink : It change routes and taking us on new tab.
Style customization
Suppose you want to customize color and font as per your project then you can change it by:
Theme Color
- Now we are come with unlimited color option so suppose you want to
customize your theme
primary and secondary color then just select color from customizer see
in right side select
color as per your choice and then click on apply button, it will refresh
your page and now you
will get color as per your choice, now if you want to add this color
parmenently in your project
- just copy your color code from above config and update in /src/assets/scss/style.scss
Variable customization of complete theme
Suppose you want to change color and size of card-body, Alert, Badge, Form input, breadcrumb,buttons, footer, sidebar and many more then you just need to change that particular color from _variable.scss in assets >> scss >> theme >> _variable.scss
Theme Customize
Layouts
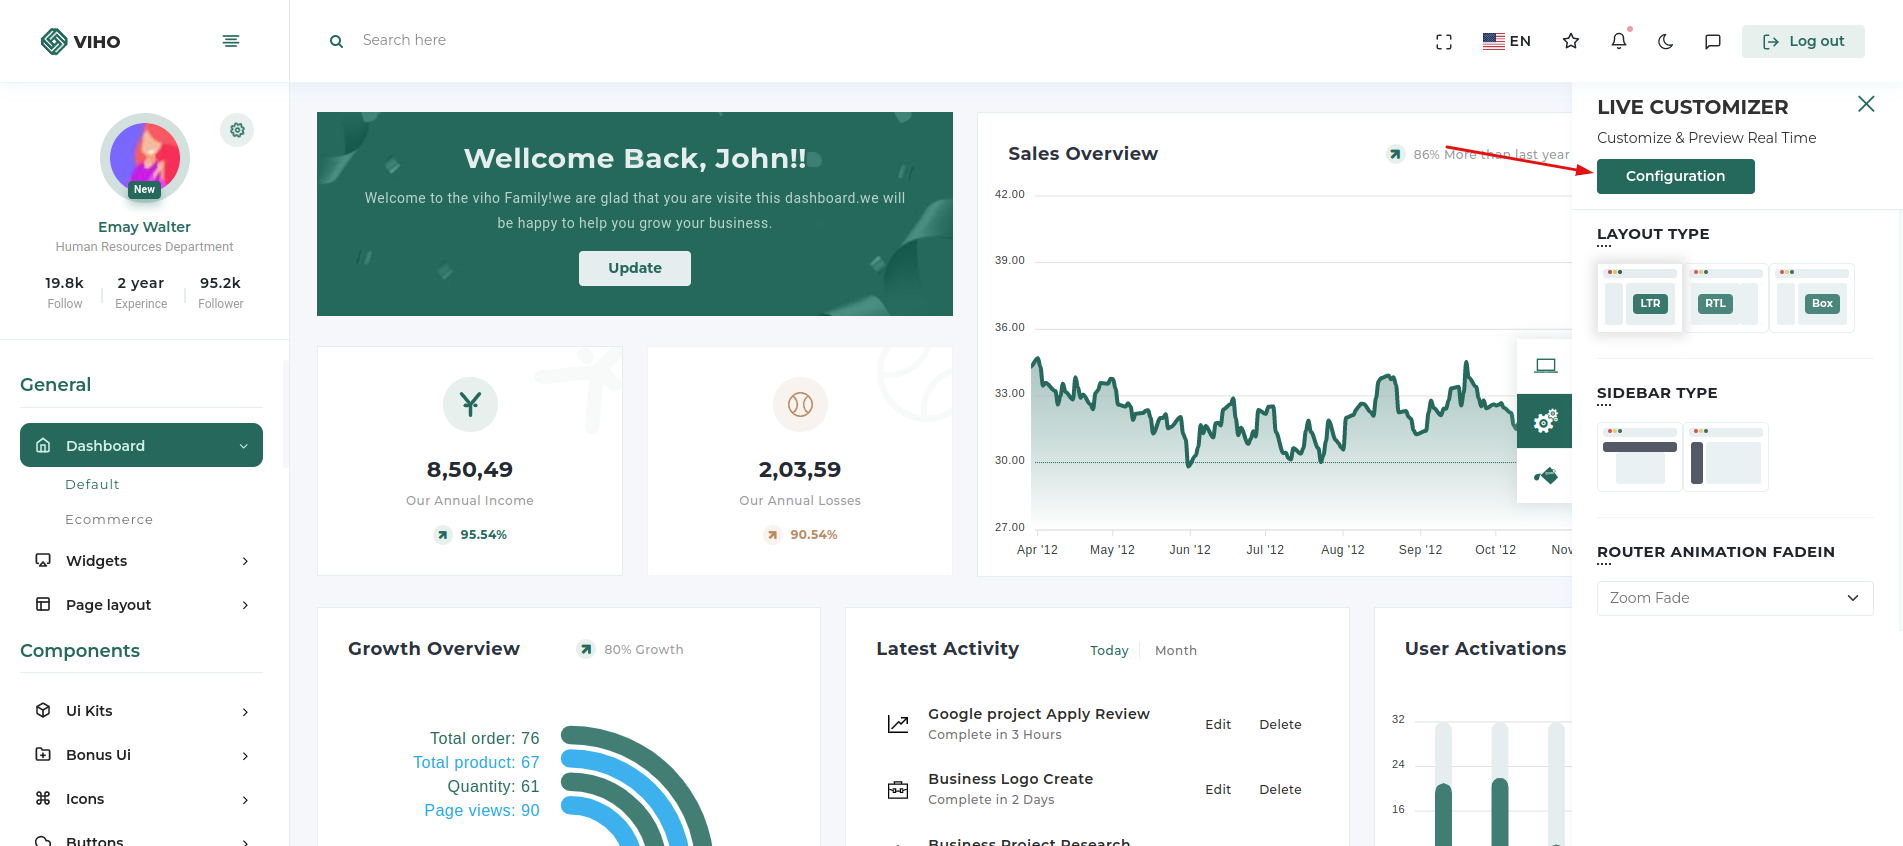
To make this theme according to your preferences we have provided a customizer bar, where you can tweak colors and layout type of the page, primary and secondary colors of the theme, and the layout of the sidebar. We have also provided a configure button from where you can copy the settings and paste in the layout.json file and get the customised layout by as the default layout.
You can find Theme customizer on the right side of every page
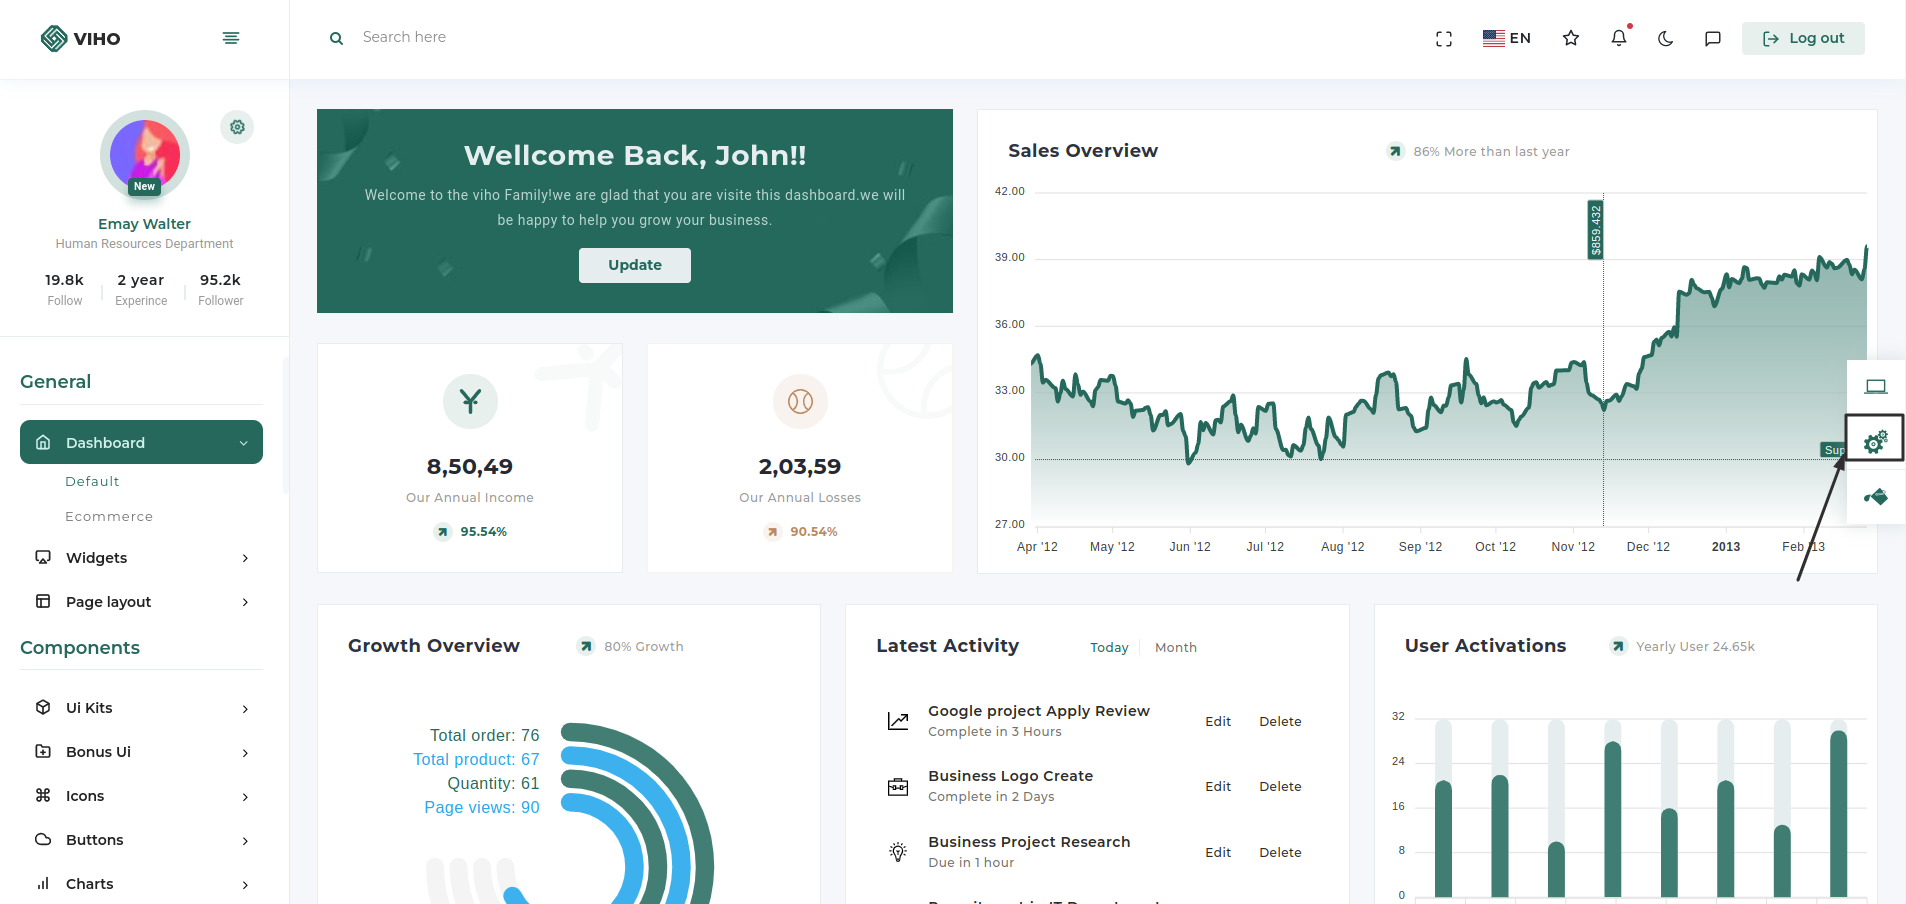
You can change your theme by clicking particular setting

Then you just need to click on configuration button
Configuration popup will be open then just click on copy json button which will copy configuration of theme which you want
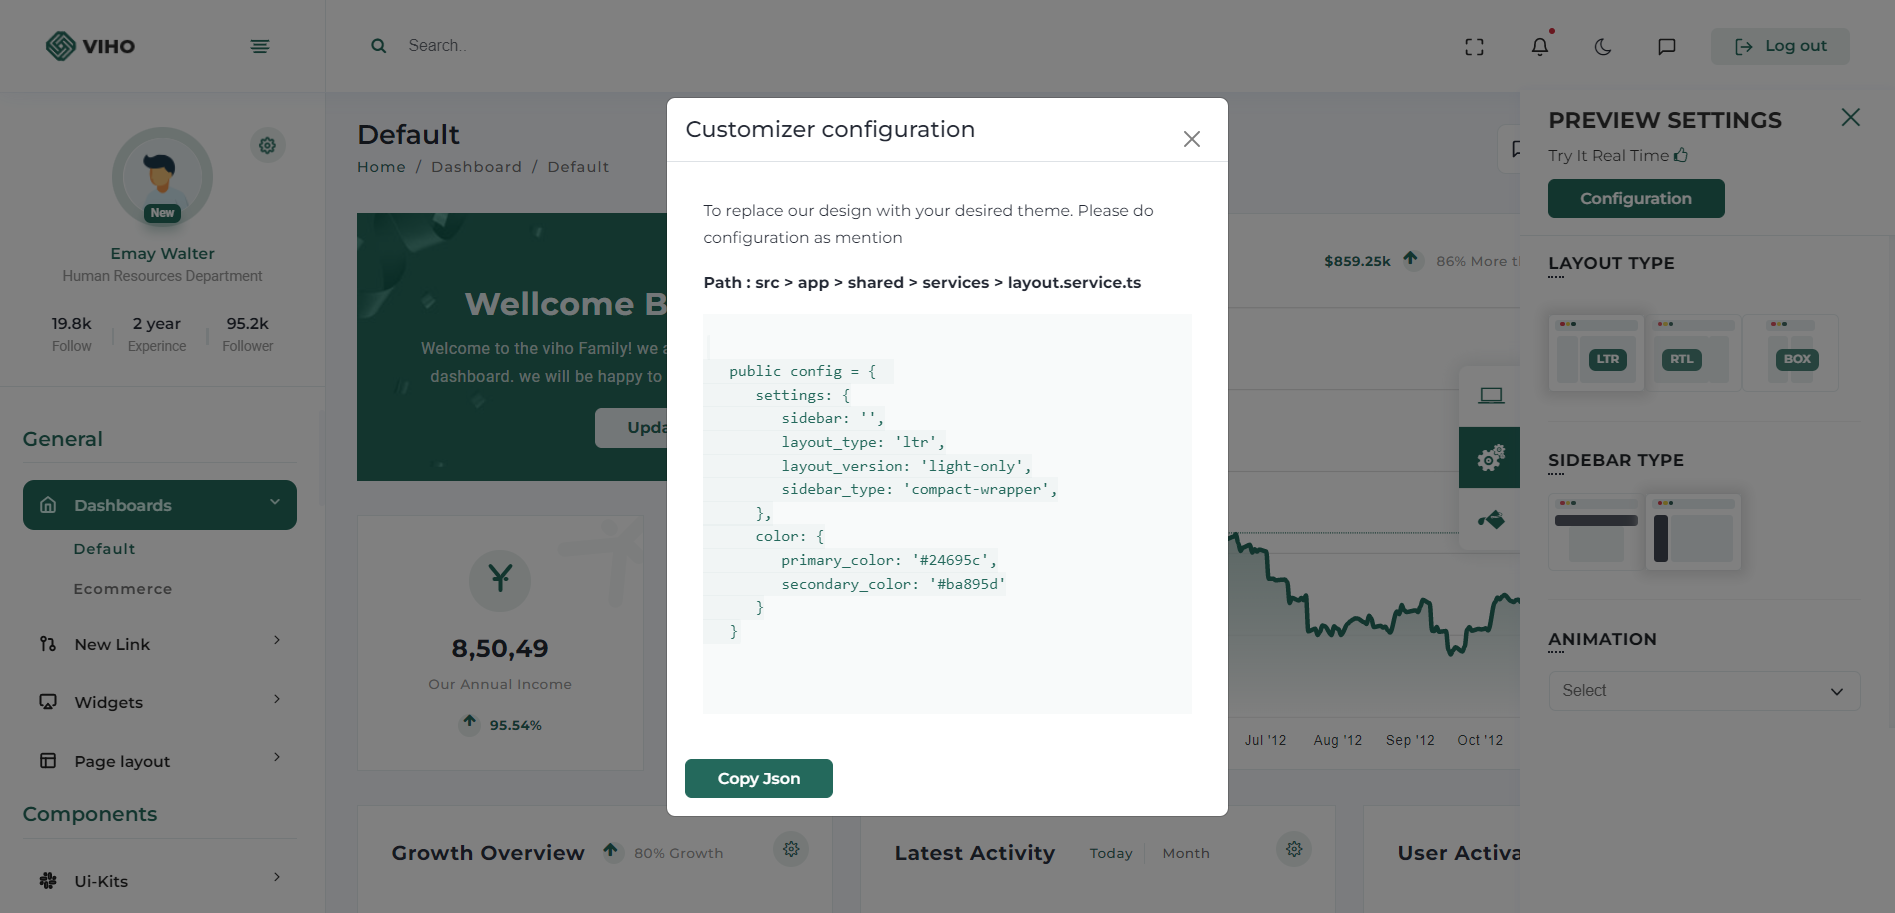
Now go to our theme >> data >> layout.json
{
"settings":
    {
        "layout_type":"ltr",
        "layout":"Defaul",
        "sidebar_setting":"default-sidebar"
    },
"color":
    {
        "layout_version":"light",
        "primary_color":"#24695c",
        "secondary_color":"#ba895d"
    }
  }
As we have given amazing layouts by adding them in URL so you just need to add your choice name layout in URL and you have that with you
Please refer the below table for corresponding classes. it is just for your inforamation you do not need to bother about this it's dynamically take particular classes according to your needs.
| Layout | Options |
|---|---|
| Boxed Layout | Class: box-layout |
| RTL Layout | Class: rtl |
| Light Layout | Class: light |
| Dark Sidebar | Class: dark-sidebar |
| Dark Layout | Class: dark-only |
Theme options
We have some inbuilt themes for sidebar that can be switched with just a class change
| Sidebar | Options |
|---|---|
| Horizontal Sidebar type | Class: "page-wrapper horizontal-wrapper" and "page-body-wrapper horizontal-menu" |
| Compact Sidebar | Attribute: sidebar-layout="compact-sidebar" |
| Modern Sidebar | Attribute: sidebar-layout="modern-sidebar" |
RTL
Suppose you want to add RTL in your application then you just need to set "layout_type" as RTL so application will be converted in RTL layout.
Suppose you want to change Colors from layout.json then you have to first clear localStorage then you will get your color in theme.
{
"settings":
  {
     "layout_type":"rtl",
     "layout":"Defaul",
     "sidebar_setting":"default-sidebar"
  },
"color":
  {
      "layout_version":"light",
      "primary_color":"#24695c",
      "secondary_color":"#ba895d"
  }
}